
 |
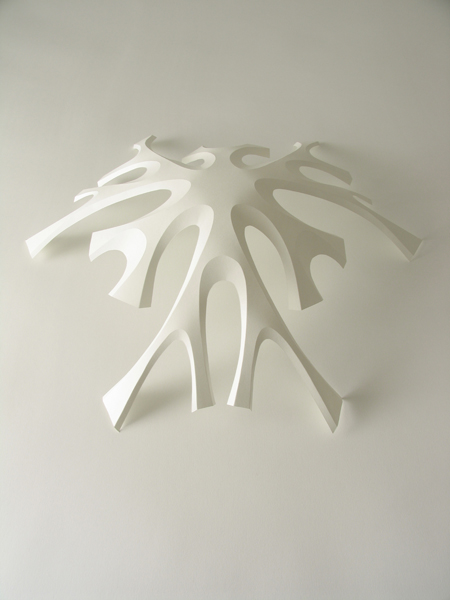
| if you look closly you can see it looks like a star that gets more and more spikes the furter back it goes. i realy like the final outcome of this project. |
 |
| Looking dowin into my final piece |
|
| if you look closly you can see it looks like a star that gets more and more spikes the furter back it goes. i realy like the final outcome of this project. |
|
| Looking dowin into my final piece |
 |
| BY sticking two of the tree points together i was able to form a sort of semi circle. |
 | ||||
All i id was to repeat this pattern until i had a half a ball , then i an into a problem.
|
 |
| When i got to the middle i broke my rule of sticking two of the three points down and instead only stuck in an attempt to expand the size of my model and i am happy to say it worked. |
 |
| This is what the inside/bottom of my model looks like. when i hang this piece not only will people be able to see the outside of my model but this inside as well. |

 | |
| my first paper krain |


 |
| I only noticed how bad the quality of my cutting work was when i printed this out in A2. |
 |
| First i tuck a piece of card and made half a cm folds all the way around the edges so it would be slightly elevated the i continued to cut out the letters i Had hand drawn in, the numbers stud up whilst the letters were just cut out. |
 |
| I thorte that if i pot sum coloured card underneath the box then maybe it would not look so bad... as you can see i was wrong. |

 |
| after i carefully made my 0 0 sectioned it up and wrote the information inside i began to cut away at the gaps with a scalpel. |
 |
| I saved all the cut out pieces and reassembles them on a table i was never planning on using them for part of my design but i do think it looks very interesting against the wooden background. |

 So this is what it looks like on its own with a plain black background i had to cut tiny slits is the paper to enable the numbers to stand
 |
| i placed my desing over a lampshade just to see what it would look like and i sort of like it, makes a really nice photograph but not a vey good poster. |
 |
| I do like the thorte of the number coming off the page and sitting behind one another but i think the angle of my photography is off in this one. |
 |
| this one i think is a little better if u pay no attention to the hand in the background although if i was to use this as a poster it would need a lot of work. |
 |
| After putting the image into photoshop it was easy to manipulate the image into a aesthetically pleasing form/ i experimented with different colours in the gaps, shadows and layouts. |
 |
| MY FINAL POSTER DESIGN!!!!!! I really think this is the best poster i cam up with i love the colour the shading and the layout. |
 |
| I realy like thw orange in this imahe but it renders the text just to hard to make out. |

 |
| This is the original photograph that i tuck to make make the final piece with. |
 |
| Hanging my work from the ceeling seemed like a grate idea at the time but proved useless. i was unable to get a half decent photograph of it and it ended up falling and getting damaged, bad move. |


 |
| Air vents have a recurring pattern |
 |
| phone wire |


